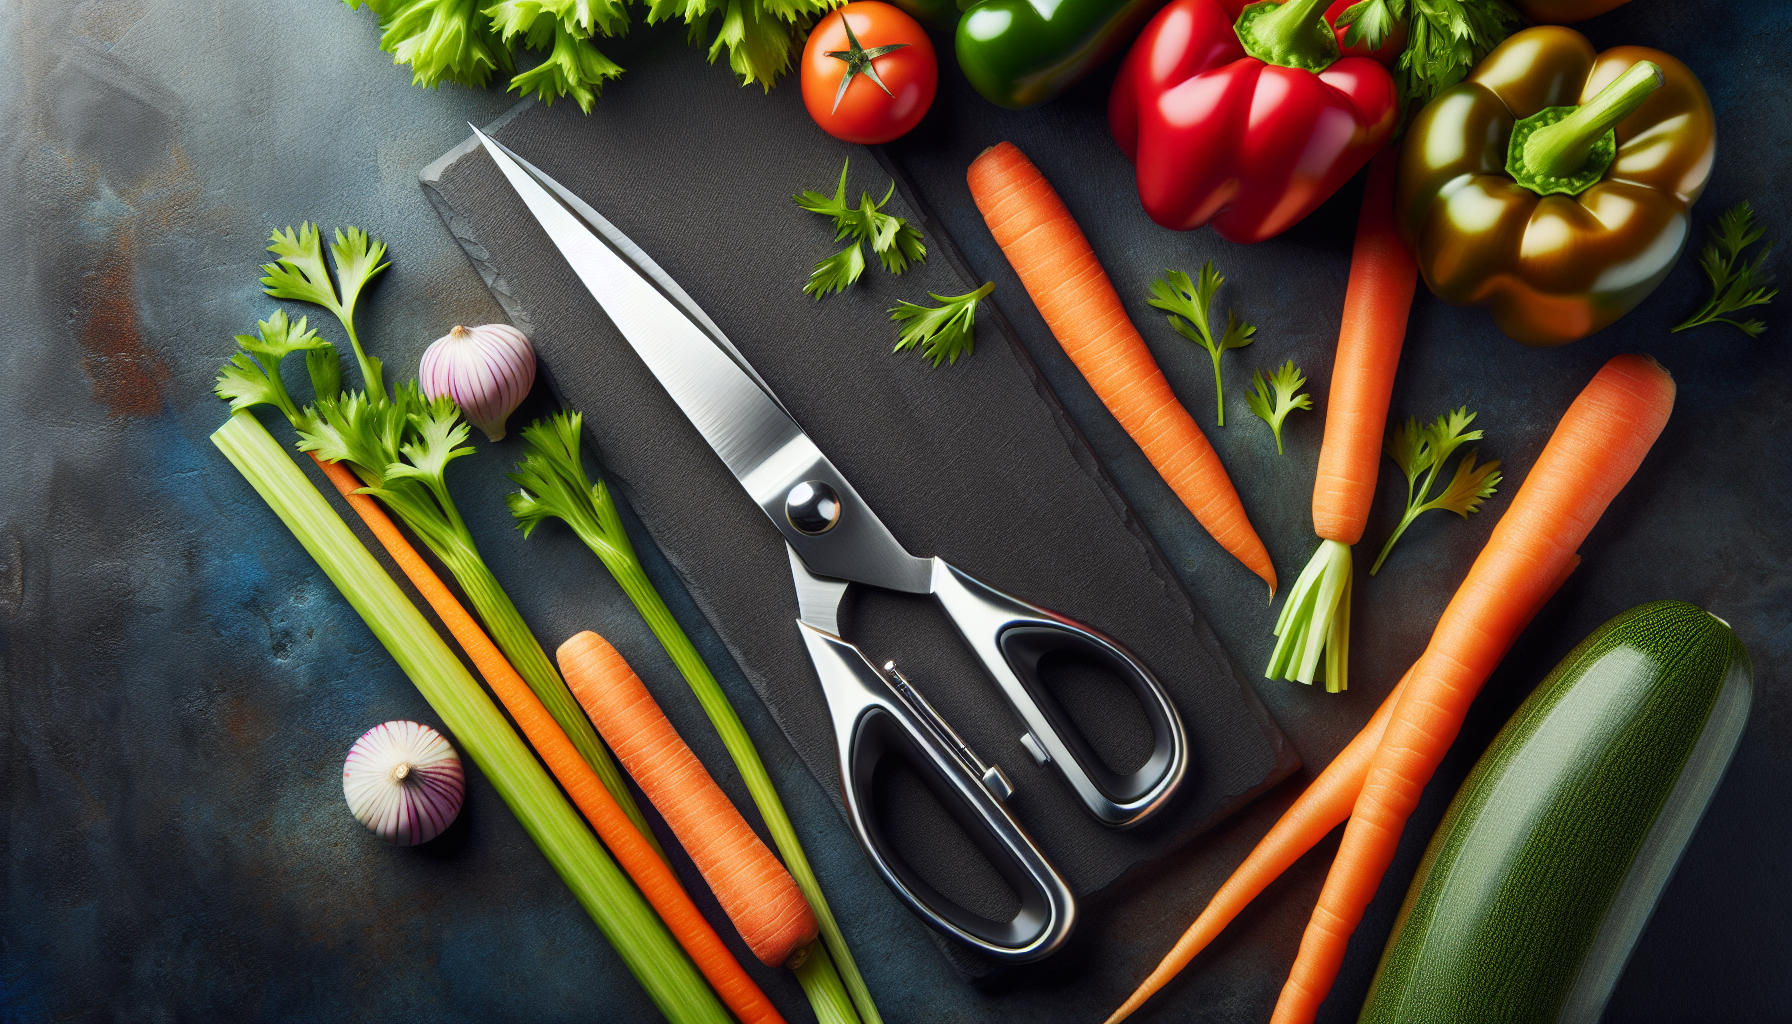
How To Sharpen Kitchen Shears: A Step-by-Step Guide
Have you ever struggled with dull kitchen shears that just won’t cut through anything? Look no further! In this step-by-step guide, you will learn the simple technique to sharpen your kitchen shears and bring them back to their sharp and efficient glory. Say goodbye to squashed tomatoes and shredded herbs, and get ready to enjoy a seamless cutting experience in your kitchen. Read on to discover the easy steps that will make your kitchen shears your new favorite tool.

Choosing the Right Tools
When it comes to sharpening your kitchen shears, it’s important to have the right tools on hand. The two main options for sharpening equipment are sharpening stones and honing rods. Sharpening stones are typically made of abrasive material and are used to remove imperfections from the shears’ blades. Honing rods, on the other hand, are designed to realign the edge of the blades, making them more effective at cutting.
Aside from your sharpening equipment, there are also a few additional materials that can come in handy during the sharpening process. These include a cleaning agent to remove any debris from the shears, as well as some lubricant to keep the blades moving smoothly after sharpening. With the right tools and materials, you’ll be well-prepared to keep your kitchen shears in top condition.
Safety Precautions
Before diving into the sharpening process, it’s important to prioritize safety. This means wearing the appropriate protective gear, such as gloves and safety glasses, to prevent any injuries. Additionally, it’s crucial to minimize potential hazards by ensuring that your work area is clean and well-lit. Removing any distractions or clutter from your workspace can help you stay focused and avoid accidents while sharpening your shears.
Disassembling the Shears
To effectively sharpen your kitchen shears, it’s necessary to first disassemble them. This involves identifying the different components of the shears, such as the blades, the pivot point, and the handle. By understanding the various parts of your shears, you’ll be able to take them apart properly and ensure a thorough sharpening process.
Once you’ve identified the components, carefully take apart the shears by unscrewing the pivot point. This will allow you to separate the blades and work on sharpening them individually.
Cleaning the Shears
Before diving into the actual sharpening process, it’s important to give your shears a thorough cleaning. This involves removing any debris that may have accumulated on the blades, such as food particles or grease. To do this, simply use a cleaning agent, such as dish soap or a specialized blade cleaner, and scrub the blades gently with a brush or cloth. Rinse the shears with water to remove any residue from the cleaning agent and pat them dry before moving on to the next step.

Assessing the Blade Condition
Once your shears are clean, it’s time to assess the condition of the blades. Check for any visible nicks or dull edges that may affect the cutting performance of the shears. If you notice any imperfections, it’s important to address them during the sharpening process. Additionally, take note of the blade angle, as this will help you choose the appropriate sharpening method.
Choosing the Right Sharpening Method
When it comes to sharpening your kitchen shears, there are several techniques to choose from. Understanding the different methods will allow you to select the one that best suits your needs. Some common sharpening techniques include using sharpening stones, honing rods, or sharpening systems.
Sharpening stones are a popular choice and are typically made of abrasive materials such as diamond, ceramic, or natural stones. They are effective at removing imperfections from the blade and restoring the sharpness of the shears. Honing rods, on the other hand, are ideal for regular maintenance and realigning the blade edge. Sharpening systems, which typically consist of guides and abrasive belts, provide a convenient and consistent sharpening method.
Using a Sharpening Stone
If you’ve chosen to use a sharpening stone, there are a few steps you need to follow for optimal results. Start by preparing the stone according to the manufacturer’s instructions. This may involve soaking the stone in water or using a lubricant to ensure smooth sharpening. Once the stone is ready, hold one of the shears’ blades at a slight angle against the stone and move it back and forth, applying light pressure. Continue this motion until you’ve sharpened the entire length of the blade. Remember to repeat the process on the other blade as well for a balanced sharpening.
Using a Honing Rod
For those who prefer using a honing rod to sharpen their kitchen shears, the process is equally straightforward. Begin by preparing the honing rod according to the manufacturer’s instructions. This may involve applying a lubricant to the surface of the rod. With the shears in hand, hold the rod vertically and place the blade against it at the desired angle. Move the shears along the rod, maintaining a light and consistent pressure. Repeat this process several times on each side of the blade until you achieve the desired level of sharpness.
Using a Sharpening System
If you’ve opted for a sharpening system, start by setting up the system according to the manufacturer’s instructions. This may involve attaching the guides and abrasive belts to the system. With the shears in hand, follow the manufacturer’s guidelines to ensure proper sharpening. Typically, this involves running the blades through the system, applying light pressure, and repeating the process several times to achieve optimal results.
Maintenance Tips
Once you’ve successfully sharpened your kitchen shears, it’s important to maintain their sharpness for longer-lasting performance. Regular cleaning and lubrication are key to preventing buildup and ensuring smooth cutting. After each use, clean the shears thoroughly, removing any food or debris that may have accumulated. Additionally, apply a small amount of lubricant to the blades to keep them moving smoothly.
When it comes to storing your kitchen shears, it’s important to keep them in a safe and dry place. Avoid storing them loosely in a drawer, as this can lead to damage and dullness. Instead, consider using a blade guard or a dedicated storage container to protect the shears and maintain their sharpness.
By following these steps and incorporating proper maintenance techniques, you can ensure that your kitchen shears remain sharp and ready to tackle any cutting task that comes your way. Remember, a well-maintained pair of shears can make all the difference in your cooking experience, so it’s worth investing a little time and effort into keeping them in top shape. Happy sharpening!