How To Disassemble And Clean Kitchen Shears
In this article, you will discover the step-by-step process of disassembling and cleaning your kitchen shears. We all know how frustrating it can be when our trusty kitchen tools start to accumulate food residue and become less effective. Luckily, with just a few simple techniques, you can bring your kitchen shears back to their pristine condition. Whether you’re a seasoned chef or just someone who loves spending time in the kitchen, this guide will equip you with the knowledge and skills to maintain your kitchen shears for years to come. So, let’s roll up our sleeves and get those shears ready for some serious chopping action!

Preparation
Before disassembling and cleaning your kitchen shears, it’s important to gather all the necessary tools and materials. You will need a clean, dry workspace, a pair of shears, a clean cloth or paper towel, warm water, detergent or dish soap, and a small amount of oil or lubricant. Make sure the shears are cool and dry before starting the process. Additionally, remove any food or debris that may be stuck to the blades to ensure a thorough cleaning.
Disassembling the Kitchen Shears
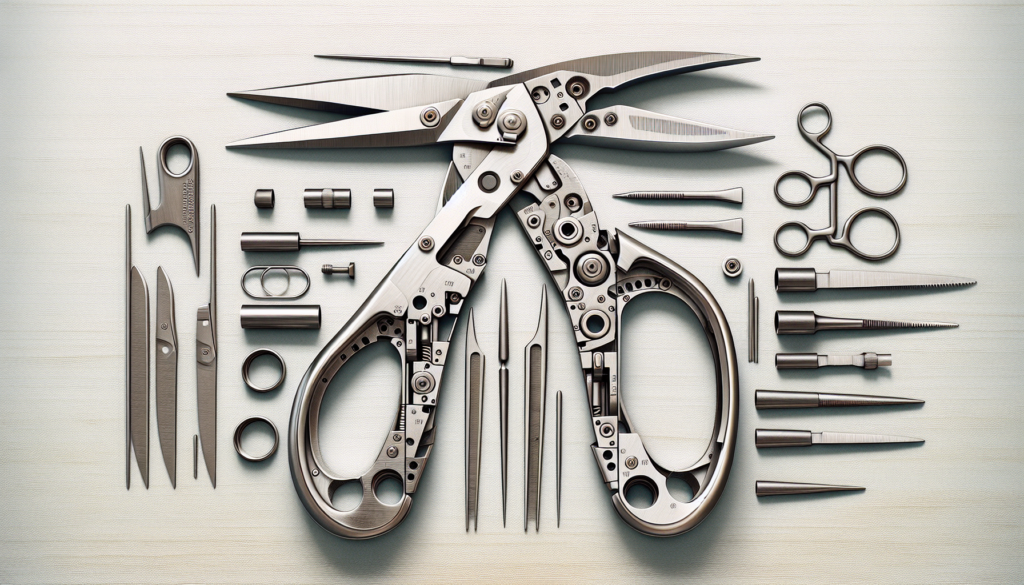
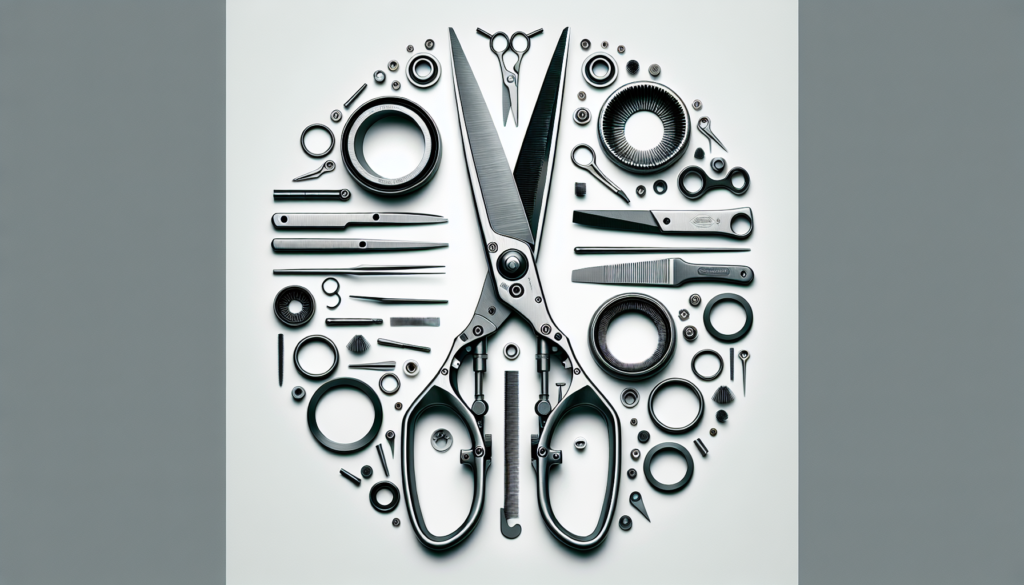
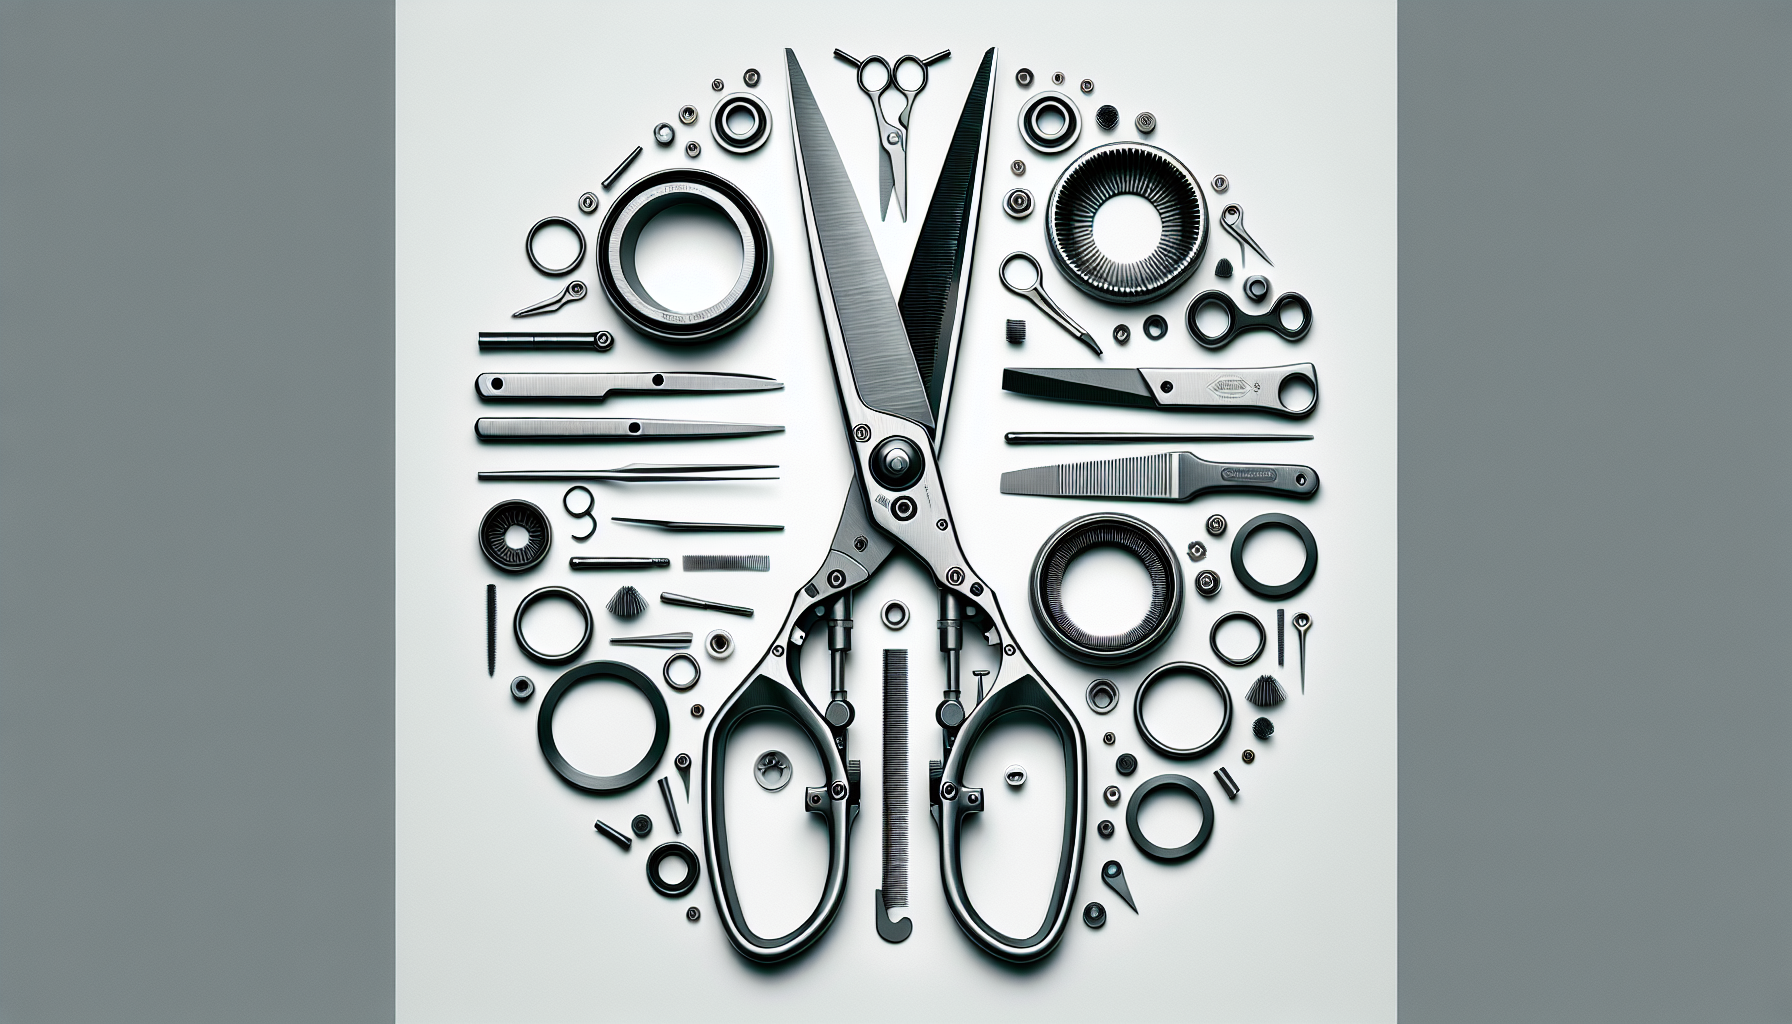
To disassemble your kitchen shears, you need to identify the different parts of the shears. Most kitchen shears consist of two blades connected by a pivot screw. Use a screwdriver or the appropriate tool to loosen the pivot screw. Once loosened, carefully separate the blades. Some shears may have additional components, such as a spring or screw, that need to be removed as well. Take note of how the shears are assembled so you can easily reassemble them later.
Cleaning the Kitchen Shears
Now that the shears are disassembled, it’s time to clean them thoroughly. Start by rinsing the shears under warm water to remove any loose debris. Then, apply a small amount of detergent or dish soap to the blades. Use a scrub brush or sponge to gently scrub away any remaining residue or debris. Pay attention to hard-to-reach areas such as the area near the pivot screw and the space between the blades. Rinse the shears thoroughly to ensure all soap is removed.
Drying the Kitchen Shears
After cleaning, it’s important to dry the kitchen shears properly to prevent rust or damage. Use a clean, dry cloth or paper towel to pat dry the shears. Make sure to remove all moisture from the blades, handles, and any other components. Avoid air-drying the shears, as this may lead to the formation of water spots or rust.

Reassembling the Kitchen Shears
Now that the shears are clean and dry, it’s time to reassemble them. Start by aligning the blades properly, ensuring they fit snugly together. If there were any additional components that were removed, reattach them securely. Once everything is in place, tighten the pivot screw with the appropriate tool. The screw should be tight enough to hold the blades in place but still allow for smooth movement. Test the shears to ensure the blades move smoothly without any resistance.
Lubricating the Kitchen Shears
To keep your kitchen shears functioning optimally, it’s a good idea to lubricate them. Apply a small amount of oil or lubricant to the blades, focusing on the pivot screw area. Using a cloth or paper towel, move the blades back and forth to distribute the lubricant evenly. This helps reduce friction and ensures smooth movement. After lubricating, wipe off any excess oil to prevent it from transferring onto food or surfaces.
Final Check
Before using your newly cleaned and lubricated kitchen shears, make sure to perform a final check. Ensure that all parts are securely reassembled and tightened. Check for any loose screws or components that may have been overlooked. Test the shears by opening and closing them to verify that the blades move smoothly and evenly. This final check ensures that your kitchen shears are ready for use.
Additional Tips
Regularly cleaning your kitchen shears is essential for maintaining their performance and longevity. Make it a habit to clean them after each use, especially if they come into contact with sticky or greasy substances. Avoid using harsh abrasives or scrub brushes with metal bristles, as these can damage the blades. It’s also a good idea to store the shears in a safe and dry place to prevent any corrosion or dulling of the blades.
Common Mistakes to Avoid
When disassembling your kitchen shears, it’s vital to have proper knowledge or follow instructions. Disassembling without knowing the correct steps or without the proper tools can lead to damage or difficulty in reassembling. Another common mistake is not cleaning the shears thoroughly, which can result in residue buildup and potential contamination. Lastly, over-tightening the pivot screw can cause excessive strain on the blades and affect their movement. It’s essential to find the right balance of tightness to ensure optimal performance.
Conclusion
Regularly cleaning and maintaining your kitchen shears is essential for prolonging their lifespan and ensuring optimal performance. Disassembling the shears allows for a deep and thorough cleaning, removing any debris or residue that could affect their functionality. By following the steps outlined in this article, you can easily disassemble, clean, and reassemble your kitchen shears, keeping them hygienic and in excellent working condition. Remember to take care of your kitchen shears, and they will continue to be a reliable tool in your culinary adventures.

