How To Clean And Care For Your Kitchen Shears
If you’re someone who loves spending time in the kitchen and frequently uses kitchen shears, then taking proper care of them is essential. Not only does regular maintenance keep them in pristine condition, but it also ensures that they remain sharp and ready for any cutting task. In this article, you will discover some simple and effective tips on how to clean and care for your kitchen shears, allowing you to enjoy their functionality for years to come. So, let’s get started on keeping your trusty kitchen companion in great shape!
1. Importance of Cleaning and Caring for Kitchen Shears
1.1 Prevent Contamination
Keeping your kitchen shears clean and well-maintained is crucial to prevent contamination in your food preparation. Kitchen shears are often used for cutting raw meat, poultry, seafood, and other ingredients that can carry harmful bacteria. If not properly cleaned, these bacteria can transfer to other foods, leading to foodborne illnesses. Regularly cleaning your shears helps remove any traces of bacteria, ensuring the safety of your meals.
1.2 Ensure Efficient Performance
Clean and well-maintained kitchen shears also ensure efficient performance. Over time, residues from food, grease, and other debris can build up on the blades, causing them to become sticky or dull. This can make it difficult to cut through ingredients smoothly and easily. By cleaning your shears regularly, you can keep them in optimal condition, allowing for precise and effortless cutting, saving you time and effort in the kitchen.
2. Tools and Materials Needed
2.1 Dish Soap
Using a mild dish soap is an effective way to remove grease, food particles, and bacteria from your kitchen shears. Look for a gentle soap that is suitable for cleaning kitchen utensils.
2.2 Warm Water
Warm water is necessary for effectively rinsing off the soap and residue from the shears. Make sure the water is comfortably warm but not scalding hot to avoid damaging the shears.
2.3 Cleaning Brush
A cleaning brush with stiff bristles is essential for scrubbing off stubborn debris, especially in hard-to-reach areas of the shears.
2.4 Vinegar
Vinegar is a versatile cleaning agent that can help remove rust and stains from your kitchen shears. It is particularly useful for restoring the shears’ shine and cleanliness.
2.5 Baking Soda
Baking soda is another powerful natural cleaner that can be used to remove stubborn residues, eliminate odors, and even help with rust removal.
2.6 Drying Towel
Having a clean and absorbent towel dedicated to drying your kitchen shears is important to prevent moisture buildup and potential rusting.

3. Cleaning Your Kitchen Shears
3.1 Disassembling the Shears
Before cleaning, it’s important to disassemble the shears if possible. Many kitchen shears feature a pivot point or screw that allows you to separate the two blades easily. Disassembling the shears allows for a thorough cleaning, as you can access each blade individually.
3.2 Hand Washing Method
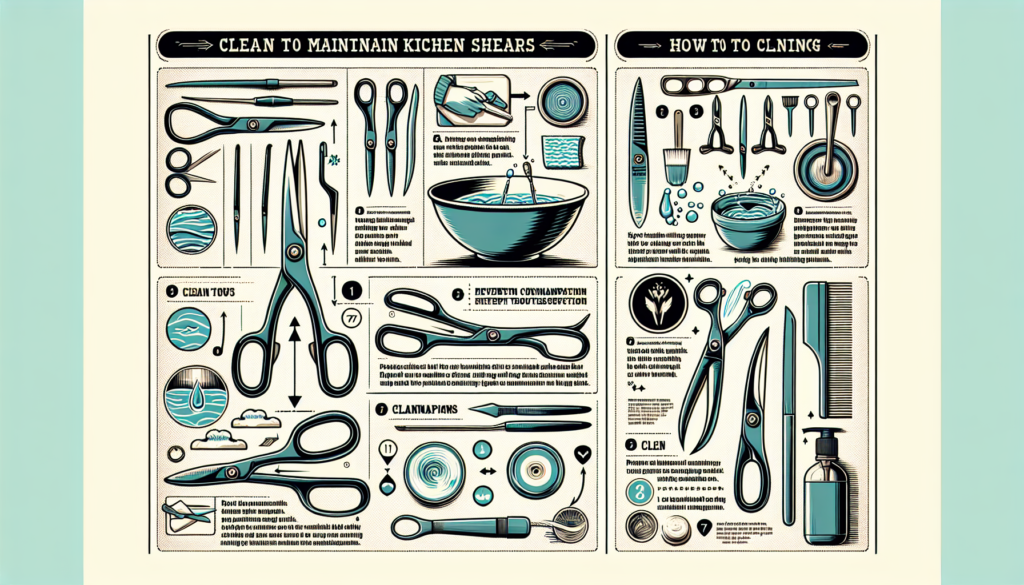
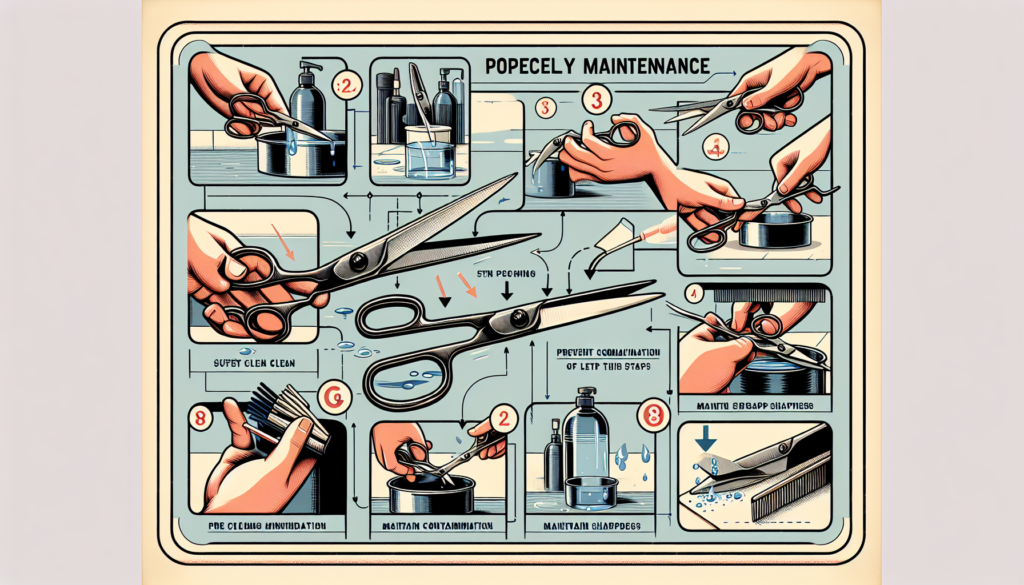
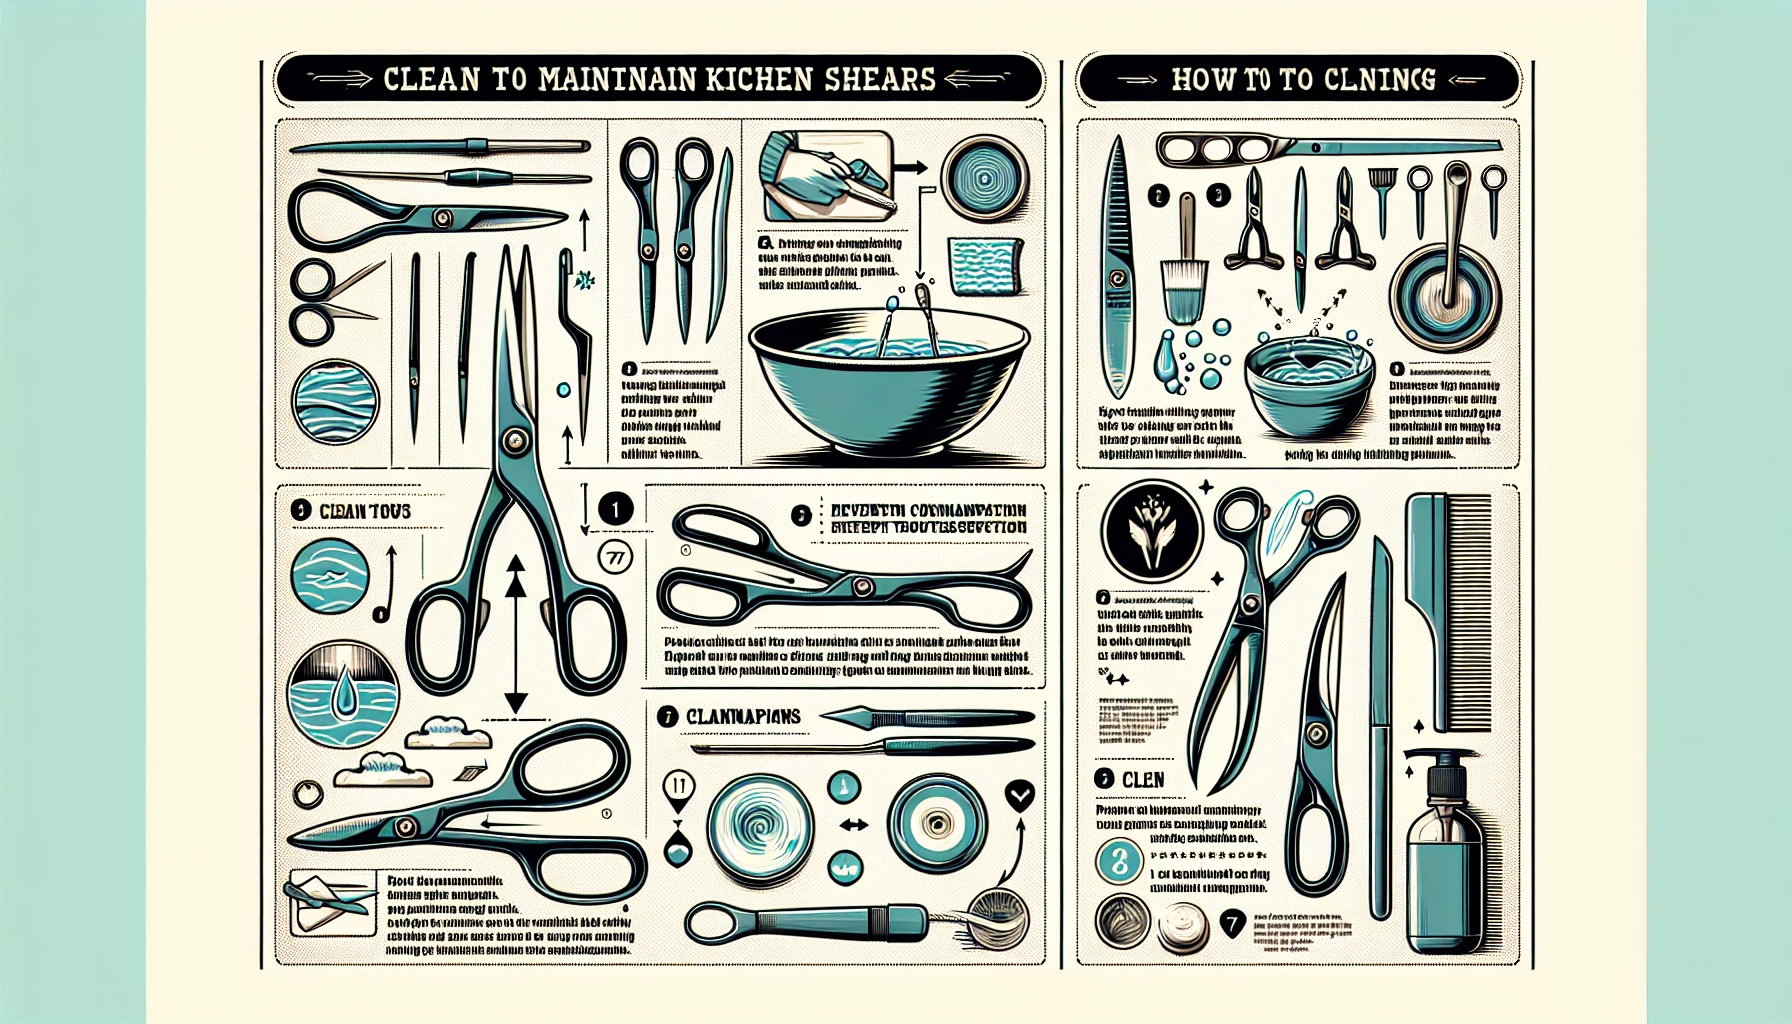
To clean your kitchen shears using the hand washing method, start by soaking them in a solution of warm water and mild dish soap. Let them sit for a few minutes to loosen any grease or food particles. Then, using a cleaning brush, scrub both blades, paying extra attention to the space between them. Rinse the shears under warm running water, removing all soap residue. Lastly, dry the shears thoroughly with a clean towel.
3.3 Soaking Method
For stubborn residues or tough-to-clean areas, the soaking method can be highly effective. Fill a sink or basin with warm water and add a few drops of dish soap. Submerge the shears in the soapy water, allowing them to soak for at least 15 minutes. After soaking, scrub the blades with a cleaning brush, paying close attention to any areas with heavy buildup. Rinse the shears thoroughly and dry them completely.
3.4 Removing Stubborn Residue
If you encounter stubborn residue that is hard to remove with soap and water alone, a paste made from baking soda and water can help. Create the paste by mixing baking soda with a small amount of water until it forms a thick consistency. Apply the paste to the affected area of the shears and let it sit for about 15 minutes. Then, scrub the paste off with a cleaning brush and rinse the shears thoroughly before drying them.
4. Proper Maintenance Techniques
4.1 Regularly Oiling the Pivot Point
To maintain the smooth operation of your kitchen shears, it’s important to regularly oil the pivot point. Apply a small drop of food-grade lubricating oil to the pivot point and gently open and close the shears to distribute the oil evenly. This helps prevent rust, reduces friction, and keeps the blades moving smoothly.
4.2 Tightening Loose Screws
Over time, the screws on your shears may become loose, affecting their performance. Regularly check the screws and use a screwdriver to tighten them if necessary. Ensure that the blades align properly and there is no wobbling or looseness when opening and closing the shears.
4.3 Avoiding Cutting Hard Materials
To prolong the lifespan of your kitchen shears, it’s important to avoid cutting hard materials such as bones, hard shells, or thick plastic. These can cause the shears’ blades to become dull or even chip, compromising their functionality. Instead, use dedicated tools for such tasks to prevent damage to your shears.
4.4 Storing Shears Properly
Proper storage plays a significant role in maintaining the quality of your kitchen shears. After cleaning and drying them thoroughly, store the shears in a dry place, away from moisture or humidity. Consider using a protective sheath or storing them in a knife block to prevent accidental damage and to keep them easily accessible for future use.

5. Removing Rust, Stains, or Odors
5.1 Removing Rust with Vinegar and Baking Soda
If your kitchen shears develop rust, a mixture of vinegar and baking soda can help remove it. Create a paste by mixing baking soda with vinegar until it forms a thick consistency. Apply the paste to the rusted areas of the shears and let it sit for approximately 30 minutes. Scrub the rust spots gently with a cleaning brush, repeating the process if necessary. Rinse the shears thoroughly, ensuring all the paste and rust residue are removed, and dry them completely.
5.2 Removing Stains with Lemon Juice
Lemon juice is a natural acid that can effectively remove stains from your kitchen shears. Squeeze fresh lemon juice onto a cloth or sponge and rub it onto the stained areas of the shears. Let it sit for a few minutes, then scrub the stains with a cleaning brush. Rinse the shears thoroughly under warm water, removing all traces of lemon juice, and dry them completely.
5.3 Eliminating Odors with Soapy Water and Lemon
To eliminate strong odors, such as garlic or fish, from your kitchen shears, soak them in a solution of warm soapy water with a squeeze of lemon juice. Allow the shears to sit in the solution for approximately 15 minutes. Afterward, scrub them thoroughly with a cleaning brush, paying attention to any crevices or corners where odors might linger. Rinse the shears well under warm water and dry them completely.
6. Sharpening Kitchen Shears
6.1 Recognizing Dull Blades
Dull blades can make cutting difficult and imprecise. To determine if your kitchen shears need sharpening, check for signs such as increased effort required to cut through food, tearing instead of clean cuts, or a noticeable decrease in performance. Regularly inspecting the blades can help you identify when they need sharpening.
6.2 Sharpening with a Sharpening Stone
Using a sharpening stone is one method for sharpening kitchen shears. Wet the stone with water or oil, depending on the type of stone, and hold it firmly on a stable surface. Open the shears and place one blade against the stone at a 20-degree angle. Maintaining a consistent angle, slide the blade across the stone in a sweeping motion, applying light pressure. Repeat the process several times, alternating between the blades, until they feel sharp.
6.3 Sharpening with a Honing Rod
A honing rod can also be used to sharpen kitchen shears. Hold the rod upright in one hand, ensuring it is secure and stable. Open the shears and position one blade against the rod at a 20-degree angle. Gradually and evenly slide the blade down the rod, applying gentle pressure. Repeat the process several times, moving the blade to sharpen all areas. Then, flip the shears and repeat the process for the second blade.
7. Safety Tips
7.1 Using Shears Properly
When using kitchen shears, it’s important to follow safety precautions to prevent accidents. Always cut away from your body and keep your fingers away from the blades. Avoid using excessive force or cutting through hard objects that may cause the shears to slip or break.
7.2 Cleaning and Storing Safely
While cleaning your kitchen shears, be cautious of the sharp blades to avoid accidental cuts. Use appropriate tools such as gloves or a cleaning brush to handle the shears. When storing them, keep them out of the reach of children and ensure they are stored securely to prevent accidental injury.
8. Troubleshooting
8.1 Shears Not Closing Properly
If your kitchen shears are not closing properly, it may be due to loose or misaligned screws. Check the screws and tighten them if necessary. If the problem persists, it may be a sign of wear and tear, and it may be time to consider replacing the shears.
8.2 Shears Not Cutting Smoothly
If your shears are not cutting smoothly, it may indicate dull or damaged blades. Consider sharpening the blades using the methods mentioned earlier. If sharpening doesn’t improve their performance, it may be time to invest in a new pair of kitchen shears.
9. Benefits of Cleaning and Maintaining Kitchen Shears
9.1 Increases Lifespan
By regularly cleaning and maintaining your kitchen shears, you can significantly increase their lifespan. Proper cleaning removes harmful bacteria and prevents rust and corrosion, ensuring the shears remain functional and safe to use for an extended period.
9.2 Ensures Safe Food Handling
Cleaning your kitchen shears thoroughly after each use helps prevent cross-contamination and the spread of harmful bacteria. By maintaining clean shears, you ensure safe food handling and reduce the risk of foodborne illnesses caused by contaminated utensils.
9.3 Saves Money on Replacement
Taking care of your kitchen shears saves you money in the long run. By regularly cleaning and maintaining them, you reduce the likelihood of damage, such as rust or dull blades, which may result in a shorter lifespan. Properly cared for shears can last for years, saving you from having to purchase new ones frequently.

